 |
 |
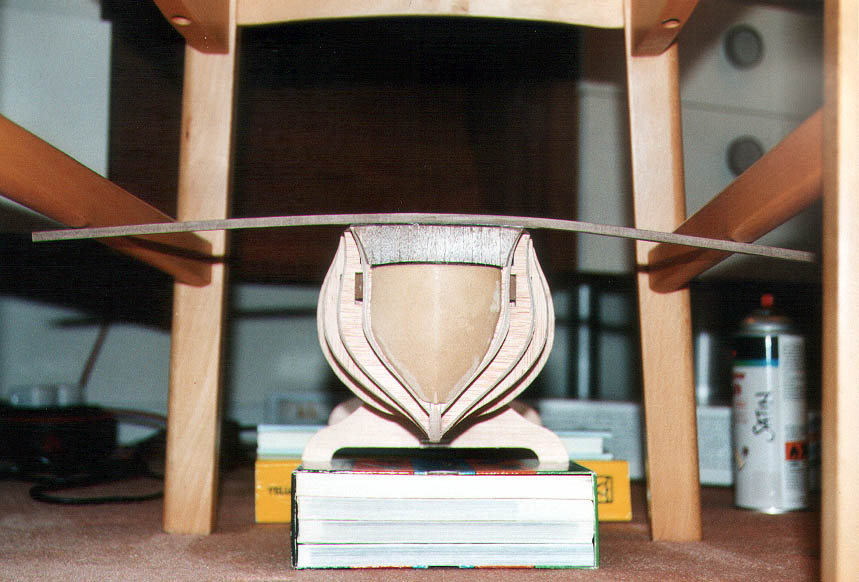
Pic 7: Now if that's not creative... this is how to get a short section of 5x5mm walnut stuck in a curve. If I'd cut the piece to length first, the force needed to hold it down at the ends would have been unachievable in safety. So I scouted ahead through the plans to make sure I didn't need a long piece of 5x5mm walnut elsewhere, before using this chair trick. Like I said, figure out how to hold the piece in place before you get the glue out...!
The formers have also had their edges bevelled to shape. I use a large, fairly coarse half-round file for this so that both convex and concave edges can be filed accurately and easily. These edges will be the bearing surfaces for the planks later, so it's worth spending some time getting the profiles right.
You'll also notice the stand for the first time. This is actually supplied in the kit and the shape suits the model rather well. Use the shape of the relevant formers as a guide to shape the top edges of the stand, so that it will fit accurately against the hull later. Eventually you will need to plank or veneer it - luckily I had enough suitable wood left over from a previous model, but if you're a first timer this may need a trip back to the shop. Don't go there now - from my experience you'll accumulate quite a shopping list!